


5
Basic HTML Tutorial #1
Zach Ripka @zachrip_
NOTE: After some recent storms here in Minnesota, I'm now without power until Monday, June 24th, I'm using power from a generator, so I may not be able to upload blogs daily for a little while.
After the last tutorial, I've decided it be best that I cover HTML before I cover Javascript. So I'm going to be explaining some HTML today. The requirements are the same as last tutorial, download the following:
- Google Chrome (www.google.com/chrome, you may not use it already, but if you use it for my tutorials, things will go easier)
- Komodo Edit (www.activestate.com/komodo-edit/downloads) OR Notepad++ (notepad-plus-plus.org/download/v6.3.3.html)

Alright, let's jump right in. We'll start with all the ways of displaying text, since I just want to keep this one short, we're going to condense our code into sections, and then save it.
Ways of outputting and formatting text:
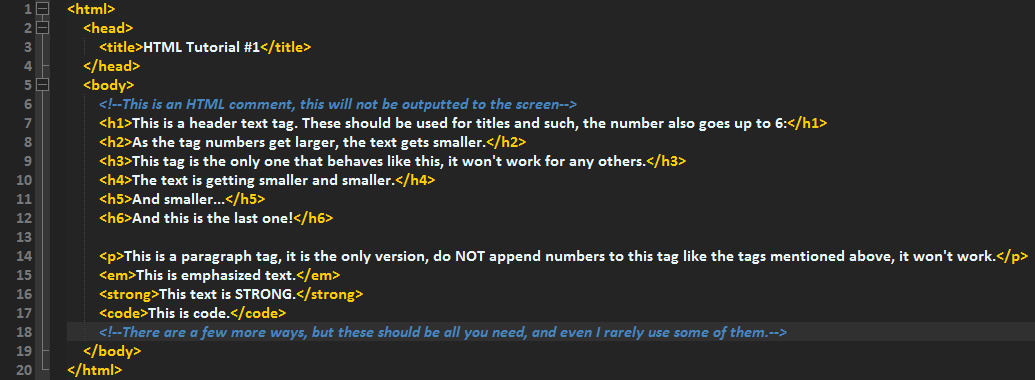
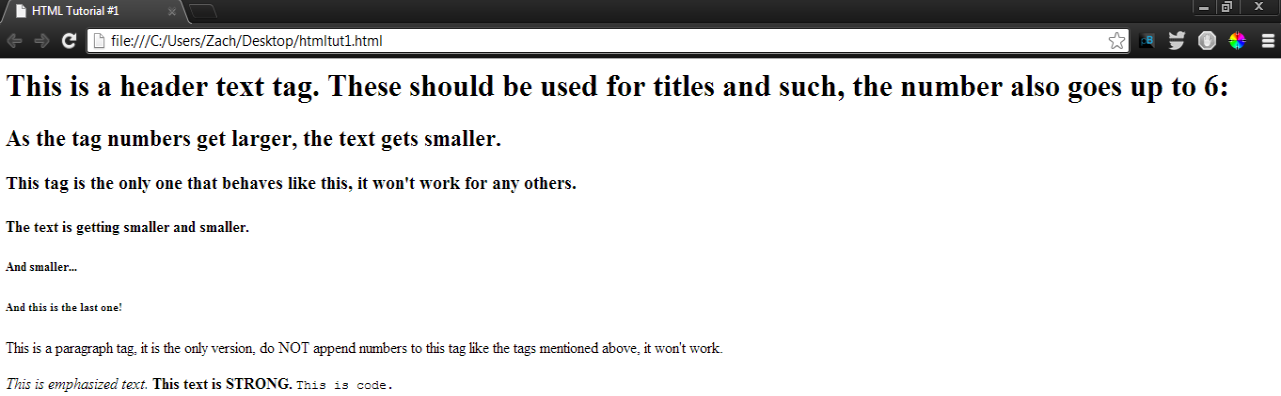
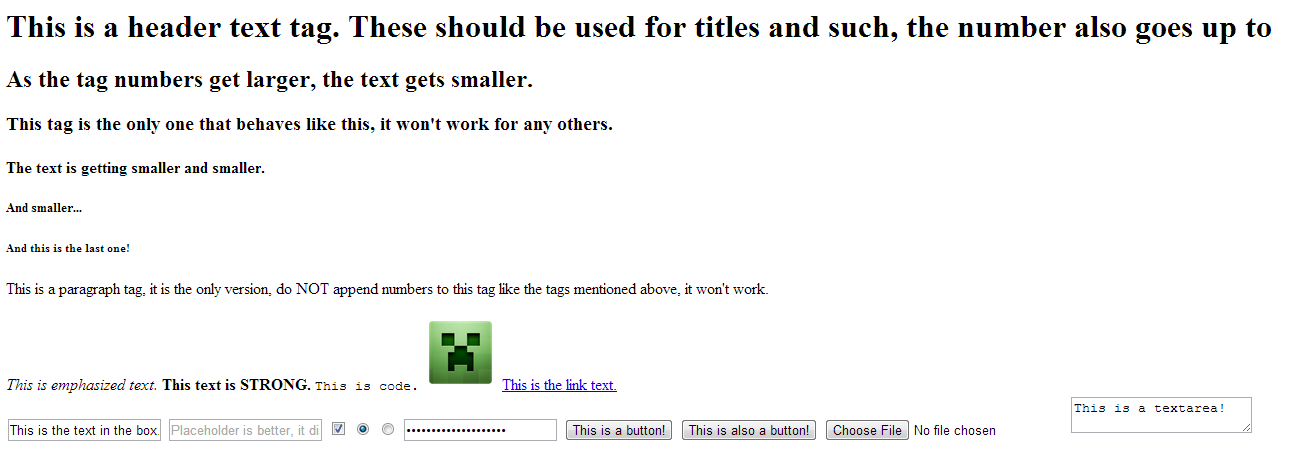
Alright, let's see what it looks like in the browser, save it and open it in Chrome.
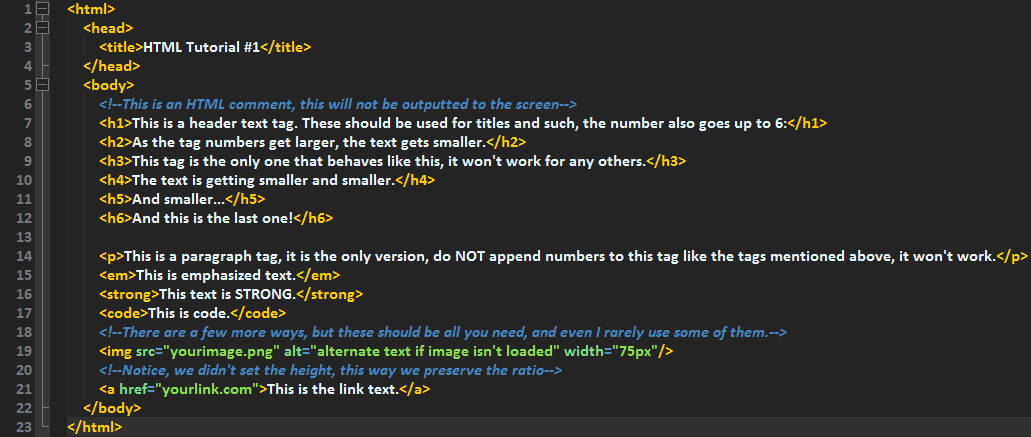
Alright, now let's add images and links(use any image, make sure it's in the same directory as the HTML file):
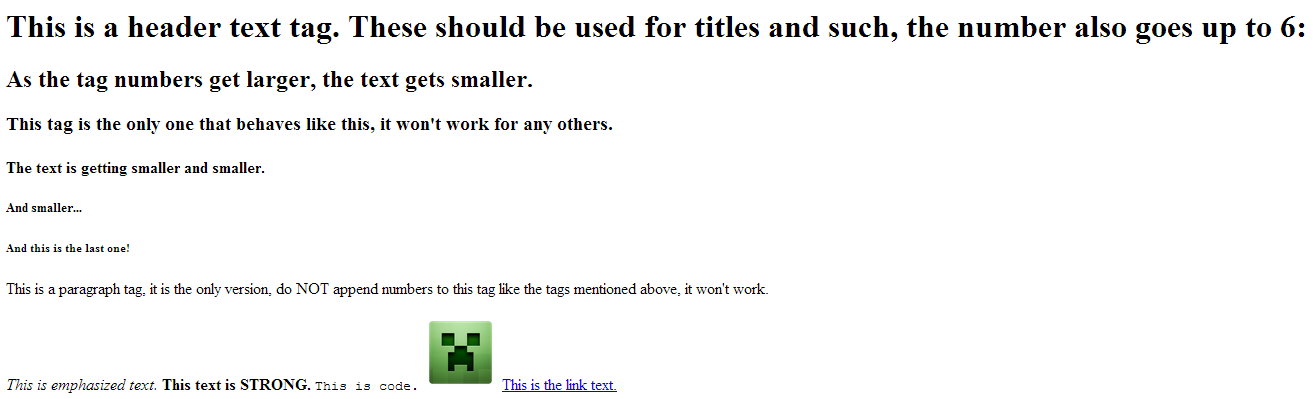
Let's see it in browser:
Note, the href parameter for the <a> tag MUST have a protocol in front of it, otherwise it's a local link and will search for the file on your website.
Time for some inputs:
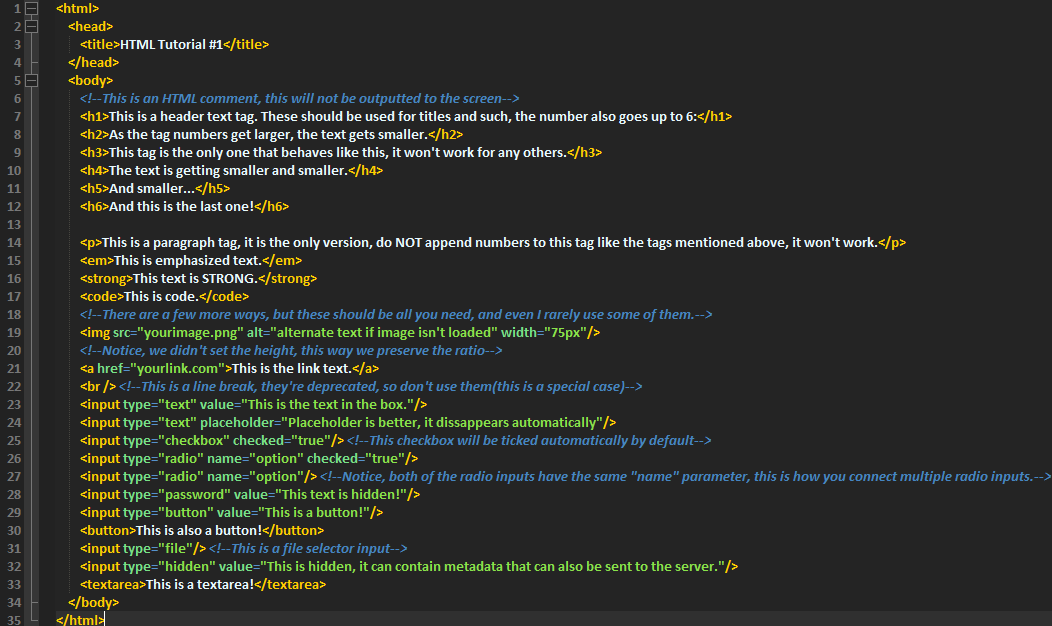
Let's see our browser now:
Alright, one last tag, but I'm not going to screenshot it. It's the "div" tag, essentially it's a box to put a bunch of subitems in. Most websites have divs for at least three things: header/nav, content, and a footer. We'll be using them a lot in our tutorials.
I've now covered some of the basic HTML elements, you'll use most of these during development of a website, but not all. HTML is the structure to your website, the bones, scaffolding, or anything similar. Javascript can be like the organs, they make the website run (I know, this isn't COMPLETELY true). And CSS is the look of the website. These three languages (and some server side things) come together to make a good website.
To clarify, I didn't go very in depth with this tutorial because HTML itself isn't very complicated. Things get more complicated when we combine other languages. If you need more on HTML, there are plenty of tutorials on it already, and you can find full lists of HTML valid tags.
Be sure to check out my other blogs, I'll be posting nearly daily!
Don't forget to leave feedback below, and ask questions!
| Tags |
2243087
6


 ObsidianFoxPlayz
 Hobbes_Master
 Cirxett
 sxgxrplxm
 84TH DELTA LEGION STORMTROOPER
 spookyshxdow
 Arianwyn
 acoolrocket
 santinocavazos
 Panda_Tyger
 KeyDevy


 Neephestos
Create an account or sign in to comment.
assume this file path
Folder
|- My Pictures
| |- creeper.png
|
|- My Website
| |- index.html
Asuming we are editing the index.html, you would need to do
<img src="../My Pictures/creeper.png"> every "../" means to go up a folder. But make a folder called images then just use <img src="images/creeper.png" > if it then looks like
Folder
|- My Pictures
| |- creeper.png
|
|- My Website
|- images (Folder)
|- creeper.png
| |- index.html