


- 4,842 views, 7 today

73
Loops
Contents
| 0. Prerequisites 1. Introduction 2. Infinite Loops 2.1. Every Tick 2.2. Any Speed 3. Conditional Loops 3.1. Repeat While 3.2. Repeat Until 3.3. Multiple Conditions 4. Counter Loops 5. Recursion 6. Conclusion and Further Reading |
0. Prerequisites
Knowledge of the following topics is required for this explanation. If you don't have that knowledge, I suggest you visit the linked resource and learn about that topic first.
| Topic | Suggested Resource |
| Creating a basic function datapack | Function Datapacks for Dummies by Bertiecrafter, at least quickstart |
| Scoreboards (creating, setting/adding values) | Function Datapacks for Dummies by Bertiecrafter, at least section 7.1 |
| /execute [if/unless] | Commands/execute on the Minecarft Wiki, at least section Conditional Subcommands |
1. Introduction
So you started creating your own datapacks. You used some commands to implement your first cool ideas, but now you're wondering: How can I do stuff repeatedly? How can I repeat something until something happens? How can I have something happen every x seconds?
Don't worry, this tutorial got you covered. You'll learn about infinite, conditional and counter loops. Sounds cool? Then lets get right into it.
2. Infinite Loops
The first type of loop we'll cover are infinite loops. As the name suggest, once you start a loop of this type it will run forever, or more precisely until the entire datapack stops running. These loops are useful, if you want do have something happening all the time or if you want your datapack to always be ready to react when something is done.
2.1. Every Tick
A game tick is the smallest timeframe in which things can happen in minecraft (usually 20 times per second, depending on lag). As a result, running commands every tick can be seen as running them constantly. Therefore, this method is best, if you want your commands to be able to instantly react to something at any point in time.
The easiest way to implement this is using the #minecraft:tick function tag.
First, we need a basic function we want to run every tick. Let's use this example:
# File Location: ./data/did/functions/loop/infinite/tick
# as/at server
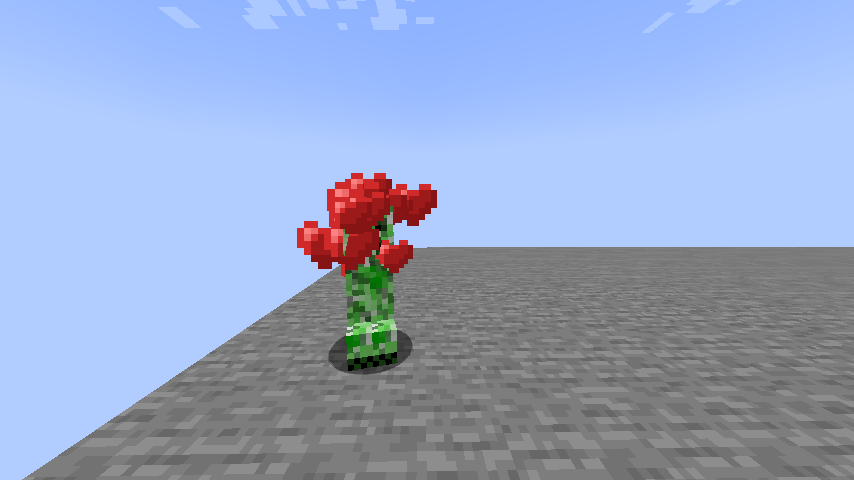
execute as @e[type=minecraft:creeper] at @s run particle minecraft:heart ~ ~1 ~ 0.2 0.1 0.2 0.1 1 forceThat command just spawns a particle at every creeper. You don't need to understand it, you can use any other command you want to run every tick, this is just an example.
Now, we need to add this to the tick tag, which we do like this:
# File Location: ./data/minecraft/tags/functions/tick.json

{
  "values":
  [
    "did:loop/infinite/tick"
  ]
}
You can also add multiple functions to that tag by just seperating them with a comma:
# ./data/minecraft/tags/functions/tick.json

{
  "values":
  [
    "did:loop/infinite/tick",
    "some:other/function"
  ]
}
Yay, we did it:
That was easy, right? Now on to the more fancy stuff:
2.2. Any Speed
In many situations you want to have a loop that continues forever, but runs slower. There are many reasons, for example:
- You want to run many functions in the loop. This can cause lag, running it less frequent can reduce that.
- You want to have a delay, for example a custom spawner that spawns a mob every x seconds.
# File Location: ./data/did/functions/loop/infinite/any.mcfunction
# as/at server
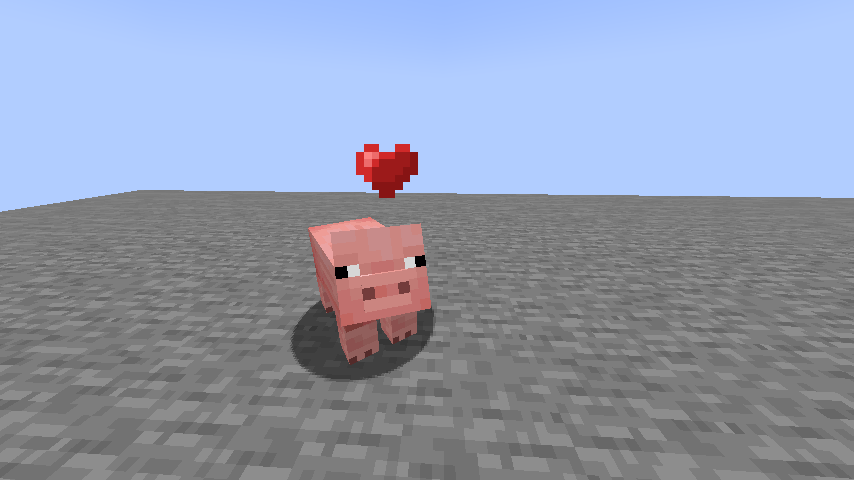
execute as @e[type=minecraft:pig] at @s run particle minecraft:heart ~ ~1 ~ 0.2 0.1 0.2 0.1 1 force
schedule function did:loop/infinite/any 1sAs you might have noticed, the first command stayed almost the same, the only difference is that we're using pigs instead of creepers this time.
The bigger difference is, there is an additional command: it schedules itself for 1 second in the future. Scheduling a function basically allows you to tell minecraft to run that function after a specified amount of time has passed (in this example 1s ≈ 1second). That means, after the function finished running, it will run again in 1 second. That time it will again repeat itself after 1 second and so on.
In the /schedule, you can use any other amount of time you want, for example: 2d (2 minecraft days), 200t (200 minecraft ticks), ... and the commands in the loop will repeat once that amount of time has passed.
Looks great, we created a function that repeats itself at a specified speed! Are we done? Sadly not, because there still is 1 problem: the function needs to run once in order to start the loop, otherwise nothing happens. Since it needs to run only once, we can use the #minecraft:load tag, which runs the function once, whenever the datapack loads:
# ./data/minecraft/tags/functions/load.json

{
  "values":
  [
    "did:loop/infinite/any"
  ]
}
Look, the pig is also happy that you learned something:
3. Conditional Loops
3.1. Repeat While
Now, we step it up another level: What if you want to repeat something, while a certain condition is met?
In this example we want to create a function, that says Abacadabra, if any player is holding a potion and stops when no player holds a potion anymore.
We can base this on the any speed loop we created before with just adding a condition before the /schedule:
# File Location: ./data/did/functions/loop/conditional/repeat_while.mcfunction
# as/at server

say Abacadabra!
execute if entity @a[nbt={SelectedItem:{id:"minecraft:potion"}}] run schedule function did:loop/conditional/repeat_while 10t
This basically does the same thing as the any speed loop, but only runs itself, if any player with a potion is present. Therefore, it stops after the condition is no longer met.
3.2. Repeat Until
Of course, you can also repeat something until a certain condition is met, by swapping if with unless:
# File Location: ./data/did/functions/loop/conditional/repeat_until.mcfunction
# as/at server

say Muggle!
execute unless entity @a[nbt={SelectedItem:{id:"minecraft:potion"}}] run schedule function did:loop/conditional/repeat_while 10t
This function says muggle, until there is any player holding a potion.
3.3. Multiple Conditions
You can list multiple conditions in /execute:
execute if <condition1> if <condition2> if <condition3> runYou can also combine if and unless conditions:
execute if <condition1> if <condition2> unless <condition3> run4. Counter Loops
Lastly, we'll cover counter loops. These are useful, if you want to repeat something a specific amount of times.
The example in this section: Imagine you want to summon exactly 10 zombies at the location of the player. Of course, you can just copy and paste the command for summoning your zombie 10 times:
# File Location: ./data/did/functions/loop/counter/list.mcfunction
# as/at server

execute positioned as @p run summon minecraft:zombie ~ ~ ~
execute positioned as @p run summon minecraft:zombie ~ ~ ~
execute positioned as @p run summon minecraft:zombie ~ ~ ~
execute positioned as @p run summon minecraft:zombie ~ ~ ~
execute positioned as @p run summon minecraft:zombie ~ ~ ~
execute positioned as @p run summon minecraft:zombie ~ ~ ~
execute positioned as @p run summon minecraft:zombie ~ ~ ~
execute positioned as @p run summon minecraft:zombie ~ ~ ~
execute positioned as @p run summon minecraft:zombie ~ ~ ~
But that isn't really elegant and would get extremely hard to do, if you want to repeat something , let's say 100 times. Of course, there's a way to do this smarter and more elegant, which is - you guessed it - a counter loop (in computer science: for loop). It's based on the conditional loop you already learned about, combined with a scoreboard.
First, we need to set up the scoreboard in the load function:
# ./data/minecraft/tags/functions/load.json

{
  "values":
  [
    "did:loop/counter/init_score"
  ]
}
# File Location: ./data/did/functions/loop/counter/init_score.mcfunction
# as/at server
scoreboard objectives add count dummy
scoreboard player set #count count 1Now, after we've created the scoreboard using another function in the #minecraft:load tag, we can start setting up our conditional loop:
# File Location: ./data/did/functions/loop/conditional/repeat_until.mcfunction
# as/at server

execute positioned as @p run summon minecraft:zombie

scoreboard players add #count count 1
execute unless score #count count matches 10.. run schedule function did:loop/counter/loop 1t
execute if score #count count matches 10.. run scoreboard players set #count count 0
Now what this function does:
- It summons a zombie. (the command that should be repeated)
- It counts up by 1 on the score of #count on the scoreboard count. (counts how many times it has been repeated)
- It schedules itself, if it hasn't been repeated 10 or more times. (stops if it has benn repeated 10 times)
- If it has been repeated 10 times (finished) it resets the score of #count on the scoreboard count, so it can be used again in the future.
5. Recursion
Recursion is a concept commonly used in computer science. It has lots of use cases and is extremely useful in general, but I'll just cover it briefly in this blog. To put it simple, recursion means a function running itself. This can also be used in combination with basically any type of loop. In minecraft, recursion has 2 advantages over methods I told you about earlier in this blog:
- it's not limited to running once per tick (in fact it's way faster, like A LOT fater, so fast it probably would get quite a few speeding tickets, if it was a human)
- unlike /schedule it doesn't lose command context (Who executes the command? Where is it executed?)
# File Location: ./data/did/functions/loop/recursion
# person executing the function server
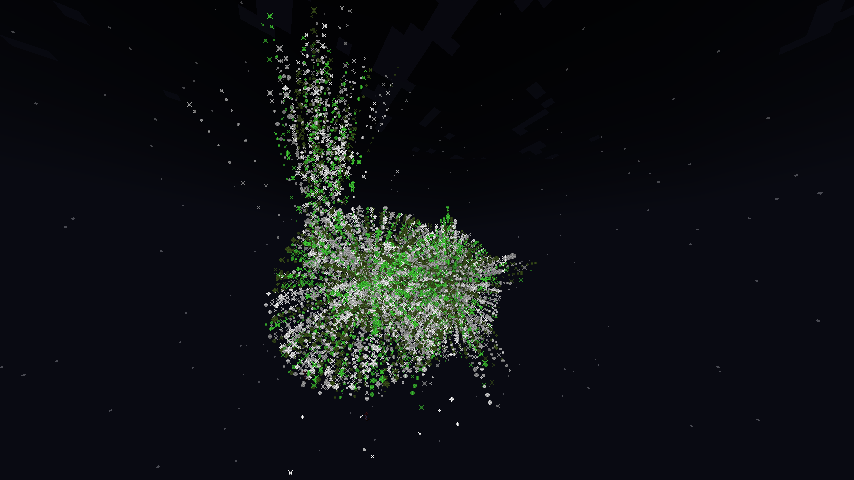
say Recursion!
execute if block ~ ~-1 ~ minecraft:stone run function did:loop/recursionThis function just runs itself at the end, simple as that. This general concept could be used with any type, but I made it conditional, because I just told you not to use it with infinite or slow loops. My example condition requires the player executing the function to stand on a stone block.
This is some proper spamming!

Important side note: The speed at which the "Recursion!" messages appear is limited to chat speed, the actual recursion is faster.
Second important side note: There's a limit for recursion in minecraft. Don't ask me why, but a function by default just stops after repeating 65536 times. This can be controlled by changing the maxCommandChainLength gamerule. (/gamerule maxCommandChainLength <value>)

6. Conclusion and Further Reading
You've (hopefully) learned quite a lot while reading this. You learned how to repeat stuff forever, a certain amount of times and how to use conditions with loops. Now you you can continue by coding your own projects, because the best way to learn more is just testing out stuff for yourself. If you don't have any ideas what for own projects yet, you can practice with the following challenge:
assignment Challenge |
| In this challenge you will create a challenge for other players! :D The task is simple: combine two loops in a way that will summon 10 creepers at the location of the player every minute (≈1200 ticks). |
If you have any further questions, feel free to ask in the comments.
If you want to check out the functions I created for this tutorial, change some things around and test it for yourself, you can download the tutorial datapack here:
🔗 DID Tutorial Datapack: Loops
As a somewhat advanced topic based on this, you might want to take a look at raycasting:
🔗Raycast (r/MinecraftCommads)
🔗Raycasting in Minecraft (Cloud_Wolf)
👍👎 | How did you like it? Please leave your feedback in the comments. |
If you want to learn even more about datapacks, you can find other episodes of DID and more in the Datapack Knowledge Book.
| Tags |
3 Update Logs
Update #3 : by Kefaku 04/12/2023 10:00:59 amApr 12th, 2023
- now mentions the Datapack Knowledge Book at the end, instead of the DID collection
- fixed some spelling mistakes
LOAD MORE LOGS
5755211
6


 Tzyber
 RocketStudio
 CrystalRuby
 PufferFishGuy_22
 FantasyWaffle
 Amazing Zane
 Black_Cross
 PaintsplattersMC
 VocalMC
 Papa Enny
 Panda_Shark
 MaximusPrime23
 Bersek36
![[Guide] Setting up the Prism launcher: why and how to do it. Minecraft Blog](https://static.planetminecraft.com/files/image/minecraft/blog/2024/115/17843525-prismlogo_s.jpg)
 ShelLuser
 voktorka
Create an account or sign in to comment.