


- 10,355 views, 1 today

43
Contents:
- [color=rgb(204,0,0)][b]Preparation[/b][/color]
- Construction
- FAQ
- ADDITIONAL NOTES
Introduction:
"Minecraft is a game about placing blocks to build anything you can imagine. At night monsters come out, make sure to build a shelter before that happens." Mojang
Minecraft is indeed a game about placing blocks to build just anything you could imagine, but sometimes you can't put block to world like pen to paper. Blocks to Buildings will introduce to you fundamental building techniques that apply to all genres of building to help you bring your ideas to life, but like the English language, many of the rules contradict each other in certain circumstances, but only rarely. This is the most important tutorial, and is the first of the series of tutorials to come.
[color=rgb(204,0,0)][size=14pt]Preparation[/size][/color]
Idea:
Before you build, you MUST have some idea of what you're going to build. Is it a house, castle, apartment, windmill? A sketch is always a good idea, but a mental picture will do just fine. You don't need a picture of the entire building, but know what features you want on the building.

Some people prefer to plan their buildings first, but it's a waste of time. The time you spend planning could be used for actually building it! Ideas tend to flow when doing the practical work, so designs are never final.
Materials: Before you start building, you need to prepare your materials. With any building it is wise to pick both a fill and frame material and if the block type you've chosen has stairs, half slabs or fence put those into your inventory as well.
The 3 F's: FFF: The 3 F's are fundamental to your building, pick wisely. These all work together to bring a piece together. If you are without these, your building will score an F! See what I did there? Yeah. You see it.
If you're building a castle or tower, the frame material can be the same as the fill material. It is not a bad idea to use stone for fill and cobble for the frame then dither/bleed into the stone. Dithering and Bleeding will be further explained later in the tutorial.

Once you have the 3 F's in your inventory, you can move onto the next chapter on Building. The following 2 headings outline your roof material and extras, but these aren't to be in your inventory at first.
Roof: The roof block should be a stair or half block and it should contrast with the rest of the building. With the release of 1.3 there will be an extra 4 roof colours to pick from.
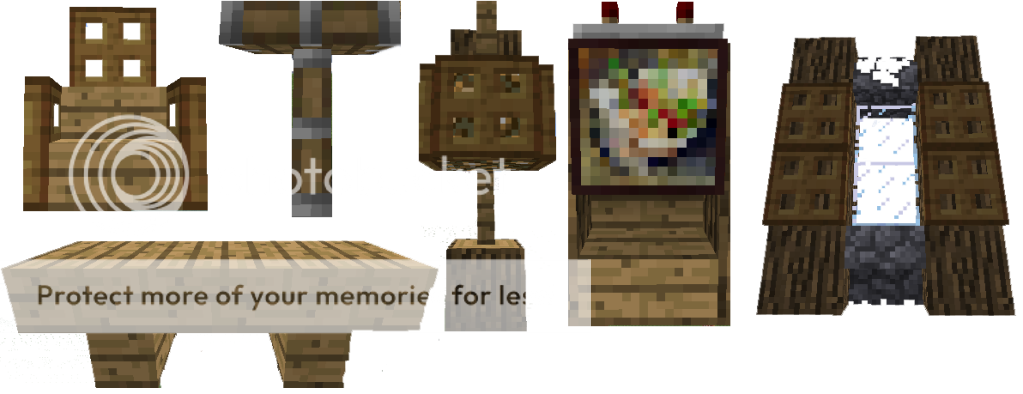
Extras: Are your extra materials such as glass, mossy, cracks, furniture blocks, hatch, flower, etc.
Construction:
The Double D's: Dimension and Depth
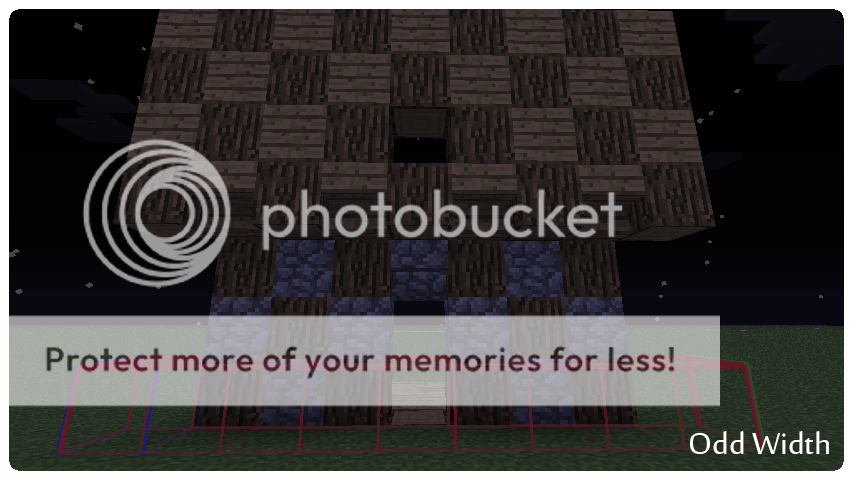
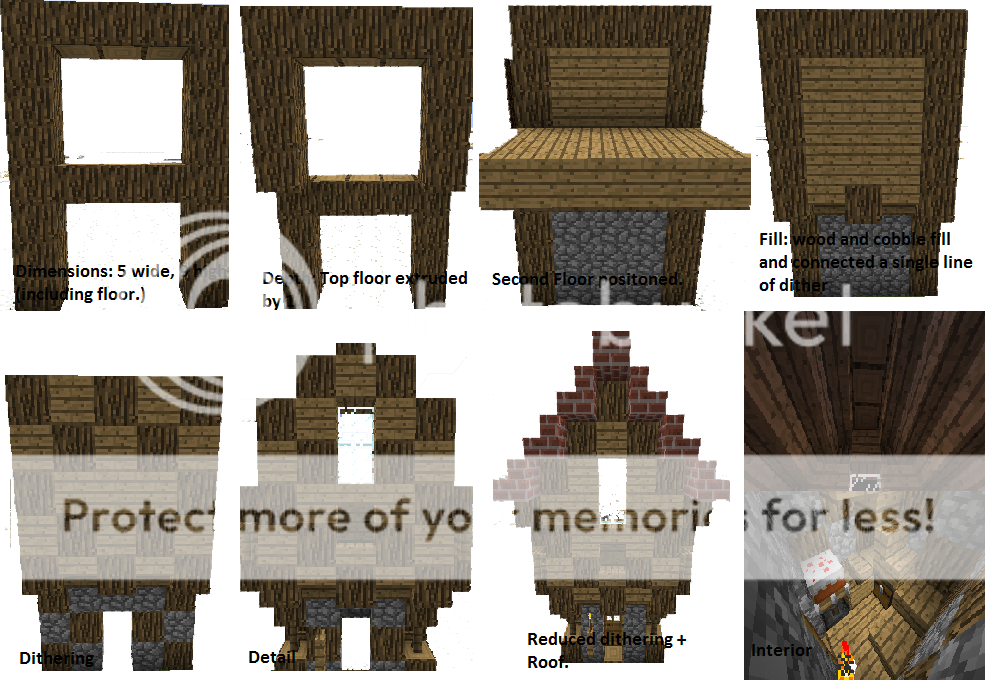
Dimensions: Odd numbers (1, 3, 5, 7, 9, 11, etc.) are the best for building because odd numbers allow you to have a centre block. The benefits of odd numbers will become more and clearer as your building progresses. Here are some examples of why odd beats even. This doesn't mean you cannot use even numbers, because there are times when you have to and in Modern contemporary they are useful, but your overall structure will fare better with odd numbers for your dimensions.
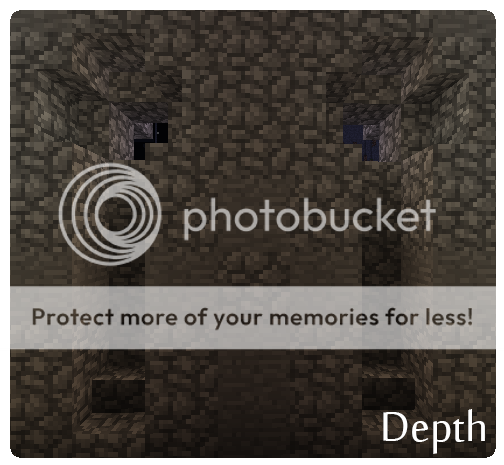
Depth: Depth in buildings is extruding points and contracting them to create shadows, which in turn add more depth to the building. Like detailing, it adds more for your eyes to interpret and points of interest.
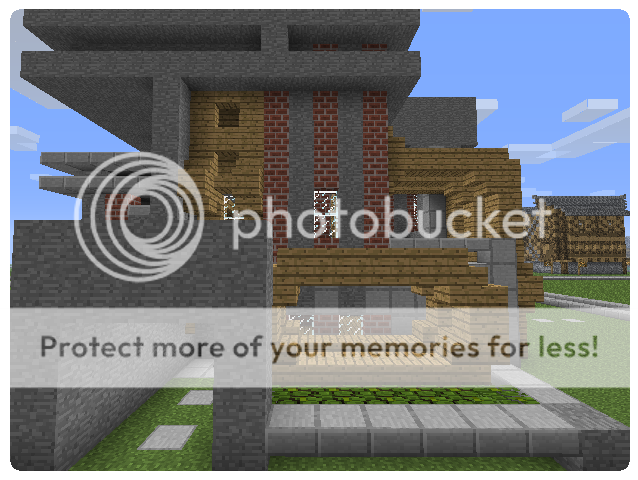
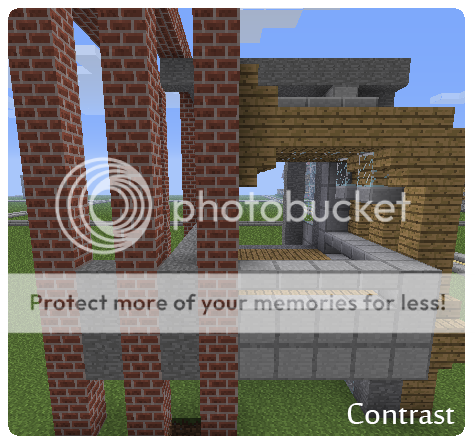
Contrast: When two or more blocks have colour schemes on the opposite extremes. The following image shows how 4 colour contrast is used to create a modern house. To see the finished product go here.
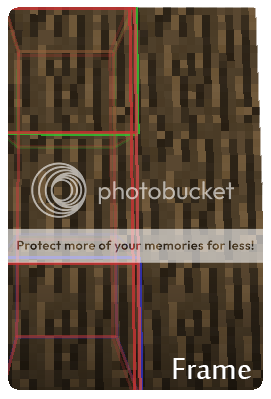
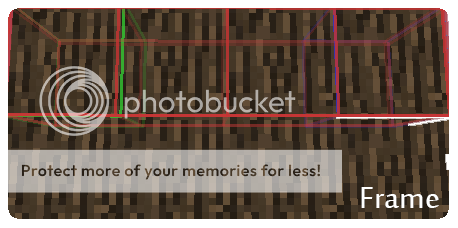
FFF: An important rule regarding medieval buildings, which also relates to odd numbers is that the frame material cannot ever run parallel and adjacent to another frame like so:
Frame diagonal to each other do not count because that is considered depth, and if the frame is similar to the fill (e.g. cobble and stone) or you're building in a modern style these rules don't apply.
Your fill material should fill the gaps in the frame of the walls.
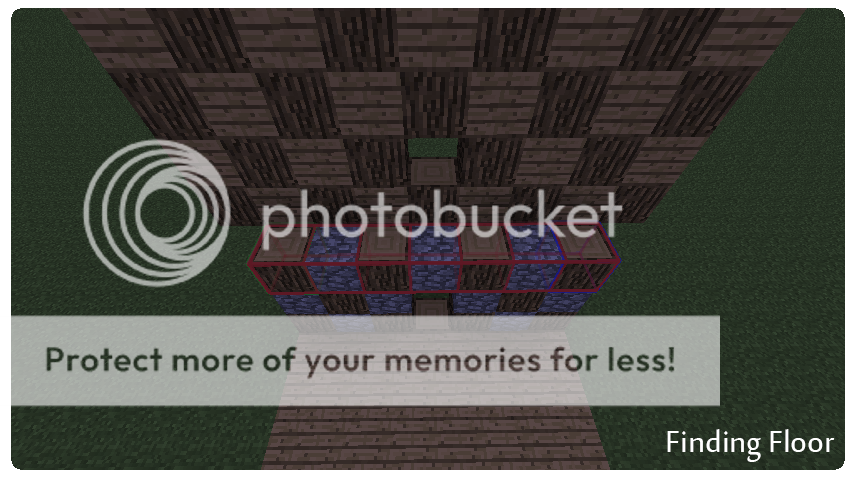
When you have a multistory building and the upper floor protrudes, a good way to know where to put the floor is by finding where the top of the first story wall is exposed.
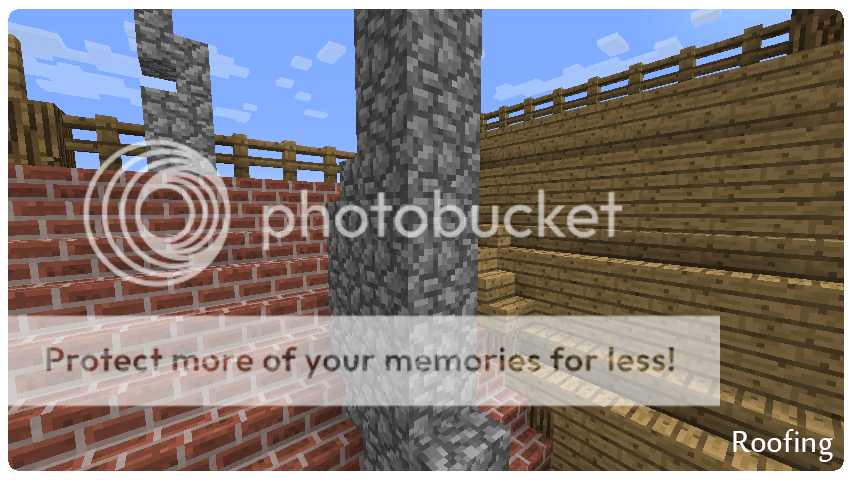
Roofs: Roofing on your building may vary from case to case; towers sometimes dono t have a roof. Modern usually have a flat roof or something abstract, but one thing is for certain. All roofs should have an overhang of one. So from your wall, the roof would hang over by one.
For medieval constructs, your frame material should be against your roof material like so:
Texturing: Without a texture, your build may look bland. A texture is a pattern in the walls of your building and is done using the frame and fill material. There are 2 ways you can apply a texture: Dithering and Bleeding.
Dithering: For those who do pixel art, you may be familiar with this term and ito s exactly the same in Minecraft. Dithering is using a checker pattern or chess pattern to blend the frame and fill to add more interest. Do not over use dithering though or ito ll look too messy. This technique is best used in medieval.
Bleeding: Bleeding or erosion is when you simulate the effect of weathering against your building. This technique is mostly used for stone buildings, such as castles and towers. This is done by having stone as your fill and cobble as frame, weather affects mostly the corners of your building and from the bottom up, so you use cobble to blend and transition into the stone. This applies for plant life too, where mossy creeps from the bottom.
Detail: One of the most IMPORTANT things about building that sets a good building a part from the bad is the amount of detail involved to bring all the elements together. Detail is achieved using your fill materialo s stair/half/other blocks. This detail adds depth and tricks your eyes a bit into seeing more than there is to it. You have to be creative with the blocks you have.
Stairs: The stair block has a variety of uses and is not limited to just stairs. With the addition of upside down stairs, the stair has become the most versatile block for detail.
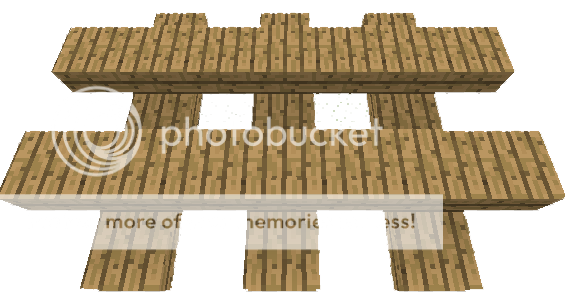
Half block: The half block is a great block for simple detail for modern and can also be used for medieval. Ito s good for smoothing curves too, or roofs and making support beams spanning across the underside of roofs.
Fence: The fence block is an extremely useful block for adding interest to certain areas, making support columns and windows.
Extras: Hatches, fence gate and any other block not mentioned have their uses too.
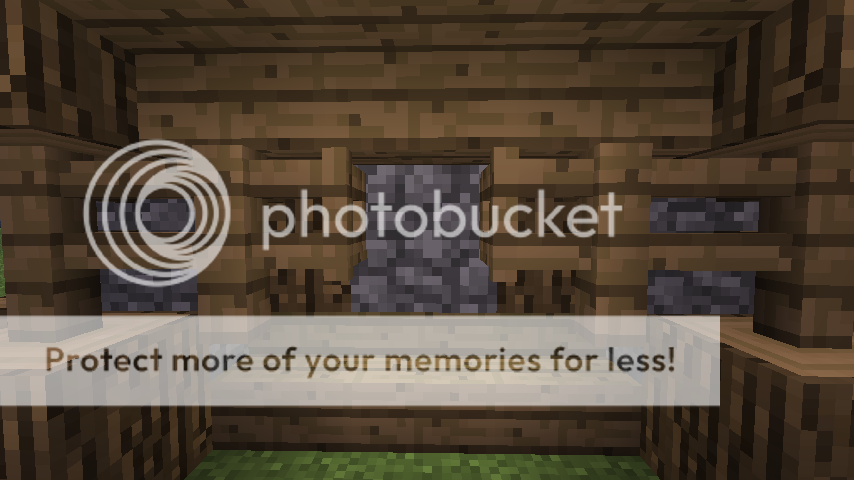
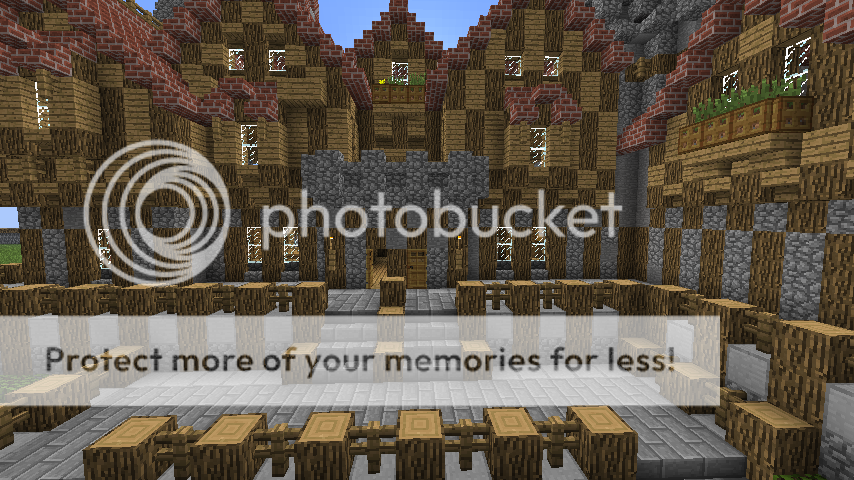
Interior: The principles for interior are very much the same, but you should pay more attention to the ceiling and floor. Like detail, you have to be innovative with the blocks you have to represent furniture. Upside down stairs should be used under the roof for ceiling if it's an open ceiling.
Ceiling: For medieval buildings support beams with wooden half blocks add more character to a building, but this might not work in all cases. You should always cover up the underside of your roof unless ito s a derelict building.
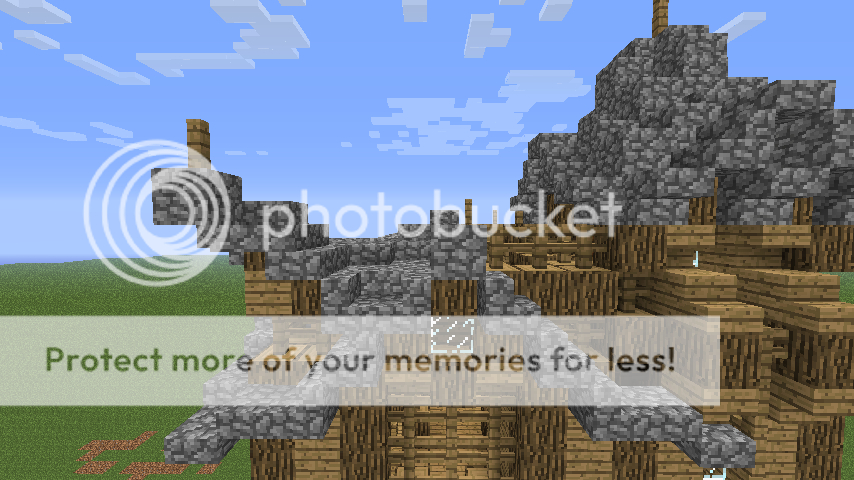
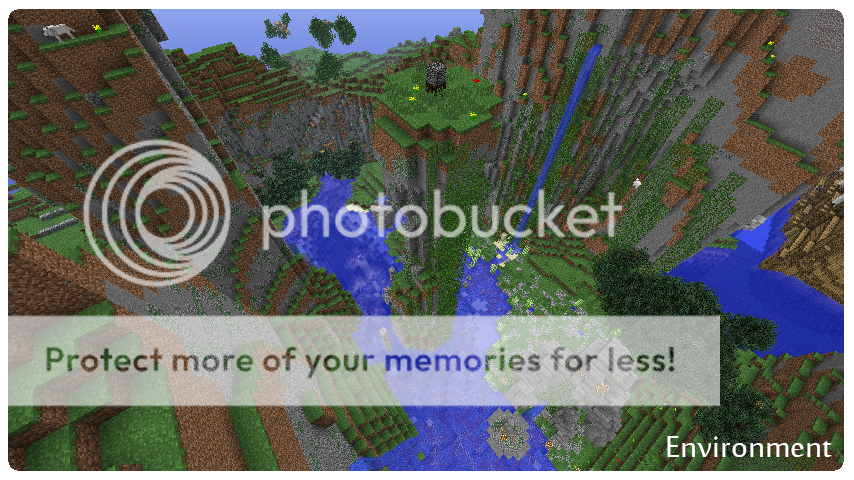
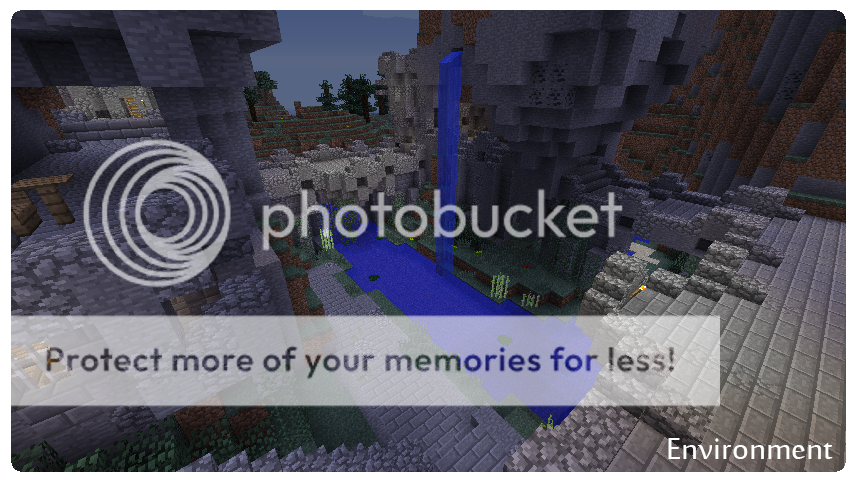
Environment: With your building complete, the second last step is to make the environment it sits in affect it. This could mean, in wild areas having mossy and vines bleed into the stone work of a building, cobwebs for age and connecting paths.
Polish: The final step now is to make sure that there areno t any imperfections, thoroughly check your building to make sure ito s complete.
Step by Step: Basic
The techniques provided previously apply to all types of constructs. The following step by step tutorials will show you how you can apply these techniques to anything and make specific buildings. Once you've followed these examples, you'll be able to move onto the advanced step by step buildings which use a combination of the basic design principles.
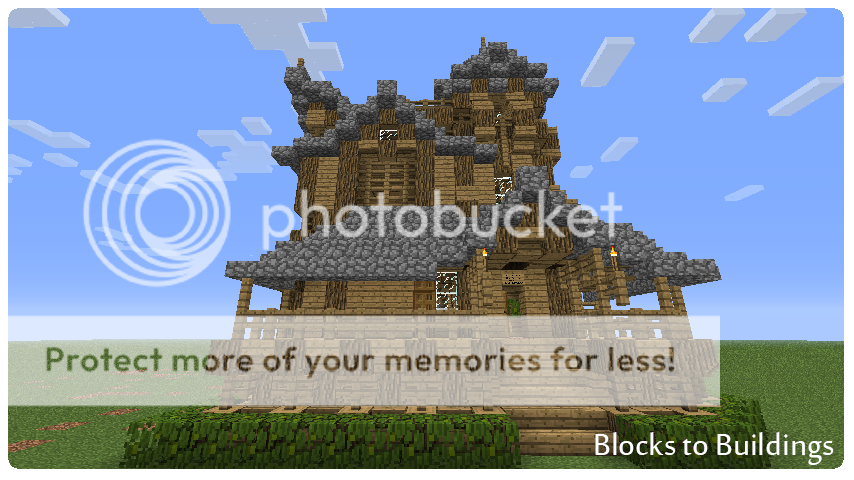
Simple Medieval Home: The simple medieval house demonstrates these key techniques:
Building:

 Environment and Polish: Putting the building into a scene. The final outcome.
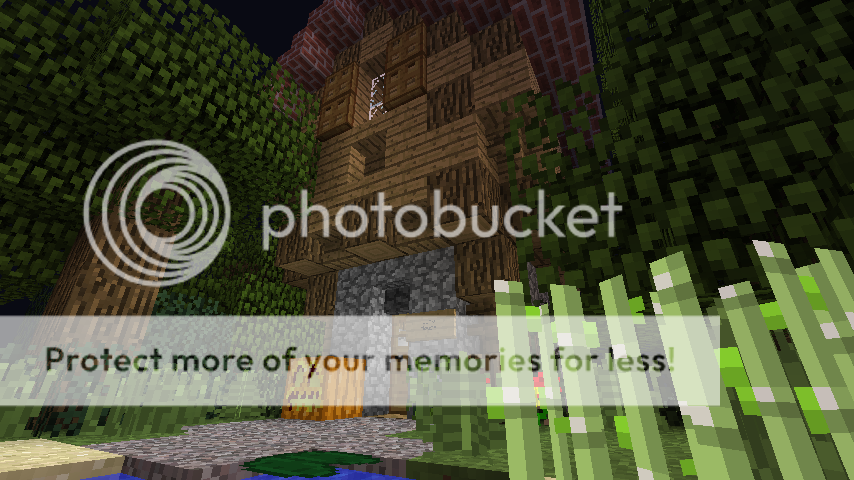
You should know have the knowledge to tackle larger and more interesting homes.
Towers:
FAQ: Ask questions if you areno t sure about something.
ADDITIONAL NOTES: Screenshots were taken from buildings Me and Lest_ have created on our server, Oceania. The server is still under-construction, but once finished people will be able to practice their building abilities there with a tier system. You may have noticed a lot of these pictures show bad houses, and that's because I just haven't had the time to build anything half decent. I'm working on a cathedral like no other, so keep watch. Blocks to Buildings is going to be expanded on as people ask more questions and make suggestions.
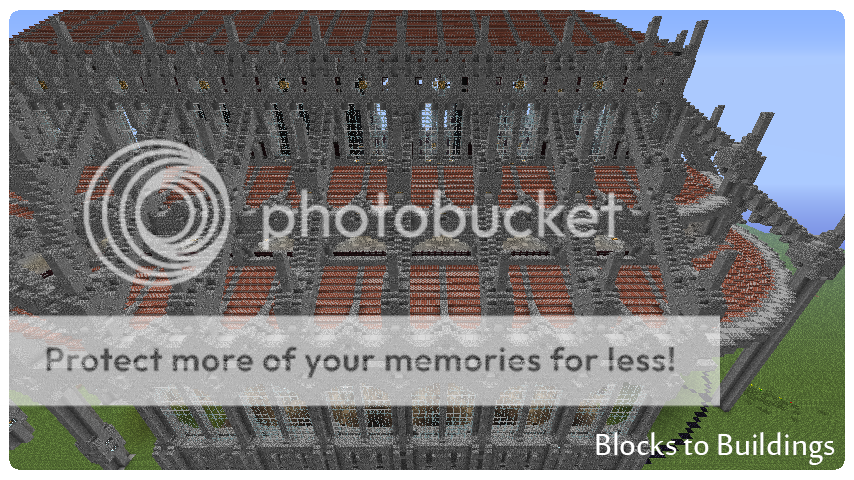
The next tutorial will cover large structures!
Also check out MrJon's manor, made using techniques from this tutorial!
- [color=rgb(204,0,0)][b]Preparation[/b][/color]
- Idea
- Materials
- Construction
- Dimensions
- Depth
- Contrast
- FFF
- Texture
- Dithering
- Bleeding
- Roofs
- Detailing
- Interior
- Environment
- Polish
- Simple House
- Watchtower
- FAQ
- ADDITIONAL NOTES
Introduction:
"Minecraft is a game about placing blocks to build anything you can imagine. At night monsters come out, make sure to build a shelter before that happens." Mojang
Minecraft is indeed a game about placing blocks to build just anything you could imagine, but sometimes you can't put block to world like pen to paper. Blocks to Buildings will introduce to you fundamental building techniques that apply to all genres of building to help you bring your ideas to life, but like the English language, many of the rules contradict each other in certain circumstances, but only rarely. This is the most important tutorial, and is the first of the series of tutorials to come.
[color=rgb(204,0,0)][size=14pt]Preparation[/size][/color]
Idea:
Before you build, you MUST have some idea of what you're going to build. Is it a house, castle, apartment, windmill? A sketch is always a good idea, but a mental picture will do just fine. You don't need a picture of the entire building, but know what features you want on the building.
Some people prefer to plan their buildings first, but it's a waste of time. The time you spend planning could be used for actually building it! Ideas tend to flow when doing the practical work, so designs are never final.
Materials: Before you start building, you need to prepare your materials. With any building it is wise to pick both a fill and frame material and if the block type you've chosen has stairs, half slabs or fence put those into your inventory as well.
The 3 F's: FFF: The 3 F's are fundamental to your building, pick wisely. These all work together to bring a piece together. If you are without these, your building will score an F! See what I did there? Yeah. You see it.
- Frame: Your frame material is the outline of your building. When building a house it should contrast with your fill material. E.g. Log and Cobble/Wood
If you're building a castle or tower, the frame material can be the same as the fill material. It is not a bad idea to use stone for fill and cobble for the frame then dither/bleed into the stone. Dithering and Bleeding will be further explained later in the tutorial.
- Fill: Your fill material as the name suggests, fills things. You may have multiple fill materials and When building medieval ito s imperative you have stair/half versions of your block.
- Floor: The floor material should be a relatively similar block to the fill or wool and preferably with a stair block or half block.
Once you have the 3 F's in your inventory, you can move onto the next chapter on Building. The following 2 headings outline your roof material and extras, but these aren't to be in your inventory at first.
Roof: The roof block should be a stair or half block and it should contrast with the rest of the building. With the release of 1.3 there will be an extra 4 roof colours to pick from.
Extras: Are your extra materials such as glass, mossy, cracks, furniture blocks, hatch, flower, etc.
Construction:
The Double D's: Dimension and Depth
Dimensions: Odd numbers (1, 3, 5, 7, 9, 11, etc.) are the best for building because odd numbers allow you to have a centre block. The benefits of odd numbers will become more and clearer as your building progresses. Here are some examples of why odd beats even. This doesn't mean you cannot use even numbers, because there are times when you have to and in Modern contemporary they are useful, but your overall structure will fare better with odd numbers for your dimensions.
Depth: Depth in buildings is extruding points and contracting them to create shadows, which in turn add more depth to the building. Like detailing, it adds more for your eyes to interpret and points of interest.
Contrast: When two or more blocks have colour schemes on the opposite extremes. The following image shows how 4 colour contrast is used to create a modern house. To see the finished product go here.
FFF: An important rule regarding medieval buildings, which also relates to odd numbers is that the frame material cannot ever run parallel and adjacent to another frame like so:
Frame diagonal to each other do not count because that is considered depth, and if the frame is similar to the fill (e.g. cobble and stone) or you're building in a modern style these rules don't apply.
Your fill material should fill the gaps in the frame of the walls.
When you have a multistory building and the upper floor protrudes, a good way to know where to put the floor is by finding where the top of the first story wall is exposed.
Roofs: Roofing on your building may vary from case to case; towers sometimes dono t have a roof. Modern usually have a flat roof or something abstract, but one thing is for certain. All roofs should have an overhang of one. So from your wall, the roof would hang over by one.
For medieval constructs, your frame material should be against your roof material like so:
Texturing: Without a texture, your build may look bland. A texture is a pattern in the walls of your building and is done using the frame and fill material. There are 2 ways you can apply a texture: Dithering and Bleeding.
Dithering: For those who do pixel art, you may be familiar with this term and ito s exactly the same in Minecraft. Dithering is using a checker pattern or chess pattern to blend the frame and fill to add more interest. Do not over use dithering though or ito ll look too messy. This technique is best used in medieval.
Bleeding: Bleeding or erosion is when you simulate the effect of weathering against your building. This technique is mostly used for stone buildings, such as castles and towers. This is done by having stone as your fill and cobble as frame, weather affects mostly the corners of your building and from the bottom up, so you use cobble to blend and transition into the stone. This applies for plant life too, where mossy creeps from the bottom.
Detail: One of the most IMPORTANT things about building that sets a good building a part from the bad is the amount of detail involved to bring all the elements together. Detail is achieved using your fill materialo s stair/half/other blocks. This detail adds depth and tricks your eyes a bit into seeing more than there is to it. You have to be creative with the blocks you have.
Stairs: The stair block has a variety of uses and is not limited to just stairs. With the addition of upside down stairs, the stair has become the most versatile block for detail.
Half block: The half block is a great block for simple detail for modern and can also be used for medieval. Ito s good for smoothing curves too, or roofs and making support beams spanning across the underside of roofs.
Fence: The fence block is an extremely useful block for adding interest to certain areas, making support columns and windows.
Extras: Hatches, fence gate and any other block not mentioned have their uses too.
Interior: The principles for interior are very much the same, but you should pay more attention to the ceiling and floor. Like detail, you have to be innovative with the blocks you have to represent furniture. Upside down stairs should be used under the roof for ceiling if it's an open ceiling.
Ceiling: For medieval buildings support beams with wooden half blocks add more character to a building, but this might not work in all cases. You should always cover up the underside of your roof unless ito s a derelict building.
Environment: With your building complete, the second last step is to make the environment it sits in affect it. This could mean, in wild areas having mossy and vines bleed into the stone work of a building, cobwebs for age and connecting paths.
Polish: The final step now is to make sure that there areno t any imperfections, thoroughly check your building to make sure ito s complete.
Step by Step: Basic
The techniques provided previously apply to all types of constructs. The following step by step tutorials will show you how you can apply these techniques to anything and make specific buildings. Once you've followed these examples, you'll be able to move onto the advanced step by step buildings which use a combination of the basic design principles.
Simple Medieval Home: The simple medieval house demonstrates these key techniques:
- Dimension: Odd
- Depth: Extrusion
- Fill and Frame
- Texture: Dither
- Roofs: Frame against Roof
- Detailing: Stairs, Fence, Extras
- Environment
Building:
Environment and Polish: Putting the building into a scene. The final outcome.You should know have the knowledge to tackle larger and more interesting homes.
Towers:
FAQ: Ask questions if you areno t sure about something.
ADDITIONAL NOTES: Screenshots were taken from buildings Me and Lest_ have created on our server, Oceania. The server is still under-construction, but once finished people will be able to practice their building abilities there with a tier system. You may have noticed a lot of these pictures show bad houses, and that's because I just haven't had the time to build anything half decent. I'm working on a cathedral like no other, so keep watch. Blocks to Buildings is going to be expanded on as people ask more questions and make suggestions.
The next tutorial will cover large structures!
Also check out MrJon's manor, made using techniques from this tutorial!
| Credit | Lest_, Tehxomber |
| Tags |
2 Update Logs
Update #2 : by Zenith V 07/30/2012 7:15:40 amJul 30th, 2012
Added more examples and polished most of the pictures.
LOAD MORE LOGS
1190730
6

 AxisBloxy
 Karrfis
 zkdkdsand
 Stubbs1
 Endemanset1
 Cornbread_Alphanumeric
 NuggetNoob

 KeyDevy


![[Guide] Setting up the Prism launcher: why and how to do it. Minecraft Blog](https://static.planetminecraft.com/files/image/minecraft/blog/2024/115/17843525-prismlogo_s.jpg)
 ShelLuser
Create an account or sign in to comment.