


219
Simple right? Yeah!
First draw the stroke on paper using marker or paintbrush
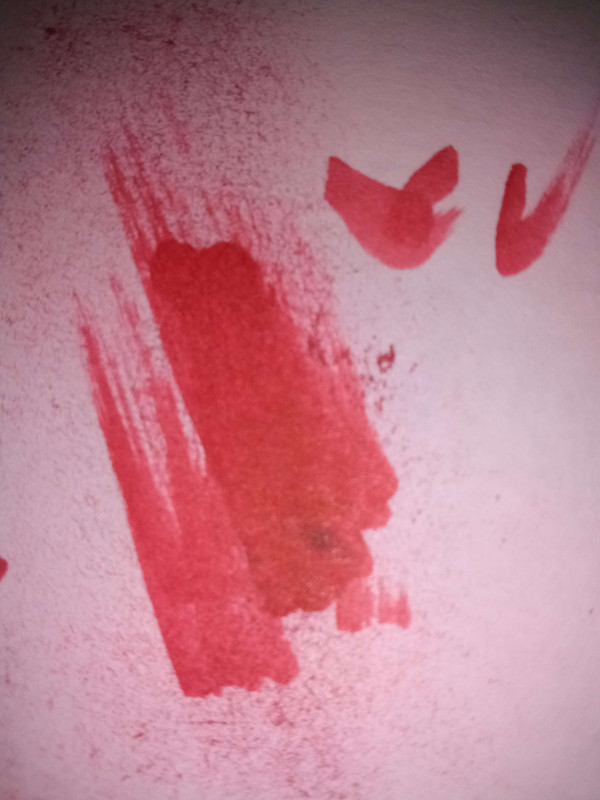
Second, digitalize it by cropping out the non-stroke, blackening, and altering the image as needed using GIMP or an image editing software of your choice (basic knowledge required or a quick YT tutorial)

Lastly, apply an image underneath your stroke then erase all the parts that are shown outside of the stroke

Good luck!
First draw the stroke on paper using marker or paintbrush
Second, digitalize it by cropping out the non-stroke, blackening, and altering the image as needed using GIMP or an image editing software of your choice (basic knowledge required or a quick YT tutorial)
Lastly, apply an image underneath your stroke then erase all the parts that are shown outside of the stroke
Good luck!
| Tags |
6148753
6
![OpenProfile 5 [FREE APP] Minecraft Blog](https://static.planetminecraft.com/files/image/minecraft/blog/2024/286/17521585-fullhd_s.jpg)


 Escapazition
 AlphaGrace
 BroccoliTheGirl
 hotsuop
 Mister_Lee
 deadoppossum11
 CrystalRuby
 PunkYeen

 TheRedDemon
 Hammerchan
 insert___text

Create an account or sign in to comment.
To avoid having to manually erase the unneeded parts of the stoke layer:
Place your image at the bottom of the layer stack (either in the image or in a specific layer group) then mask the layer to show only the wanted image on a transparent background [Often easiest by using the layer alpha channel as a mask if it's something you have drawn.]
Working on a copy of this layer 'Apply Layer Mask' and make the original invisible.
Above this place a desaturated version of the stroke layer with the layer mode set to HSL Color, then (above that) the colored stroke layer also with the layer mode set to HSL Color.